MY RESOURCES VIEWS
You can perform the following actions from the MY RESOURCE VIEWS slide-out:
Download Resources
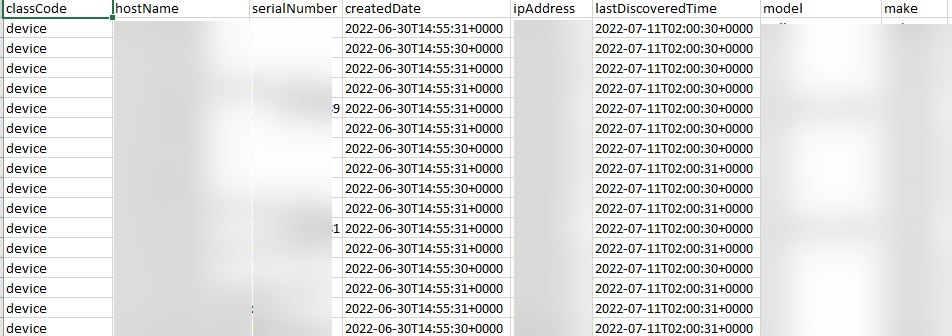
The Download Resources functionality lets you download the resources from the Infrastructure > Resources page. All the resources will be downloaded in CSV format.
To export resources:
Click Infrastructure > Resources.
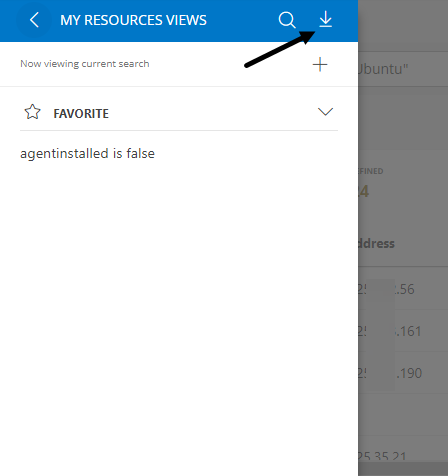
Click the hamburger menu icon at the upper-left corner of the Infrastructure Resources page.
From the slideout, click the Download Resources icon. All the resources will be downloaded in CSV format.
Save a View
Once you execute a query, you can save the query results as a view.
To save a view:
Click the hamburger menu icon at the upper-left corner of the Infrastructure search page.
From the slideout, click the + icon. The SAVE VIEW popup is displayed.
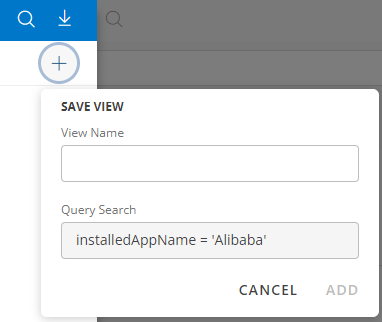
Enter a name for the view and click ADD.
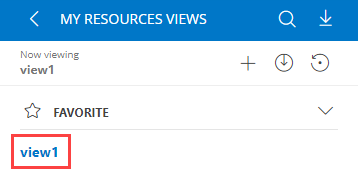
The view is saved and displayed in the slide-out.
- Use the up/down arrow icons to hide/show the views in the slide-out.
- The Save and Restore icons appear after you create a view. Click them to perform the Save and Restore views respectively.
Set Favorite
If you want to mark a view as favorite, hover over the view name on the slide-out.
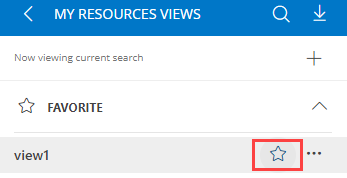
Click the star icon. The view is added as favorite and appears under the FAVORITE category. The blue colored star icon indicates that the view is added as favorite. If you want to unfavorite the view, click the blue colored star against the view. The view is removed from the Favorite category.
You can perform other actions on the saved view:
Restore
The Restore option reverts to the previous query.
Once you have made changes to a specific query, which is already saved as a view:
- Hover over the view name on the slide-out.
- Click the actions menu. The VIEW OPTIONS popup is displayed.
- Click the Restore option. The previous query automatically appears in the Search box.
Note: You must not save the changes you made to the query for the view. Otherwise, the query will not be reverted.
Rename
The Rename option allows you to rename the name of the view.
To rename a view:
- Hover over the view name on the slide-out.
- Click the actions menu. The VIEW OPTIONS popup is displayed.
- Click the Rename option. The RENAME VIEW popup is displayed.
- Enter a new name for the view in the Name box and click SAVE. The view is renamed.
Copy
The Copy option allows you to create a copy of a view.
To create a copy of a view:
- Hover over the view name on the slide-out.
- Click the actions menu. The VIEW OPTIONS popup is displayed.
- Click the Copy option. The COPY VIEW popup is displayed.
- Enter a name for the view in the Name box and click SAVE. The view is copied and is displayed in the slide-out.
Set Default View
The Set Default View option allows you to set a view as a default view for the current user.
To set a view as a default:
Hover over the view name on the slide-out.
Click the actions menu. The VIEW OPTIONS popup is displayed.
Click the Set Default View option. The Set Default View dialog box is displayed.
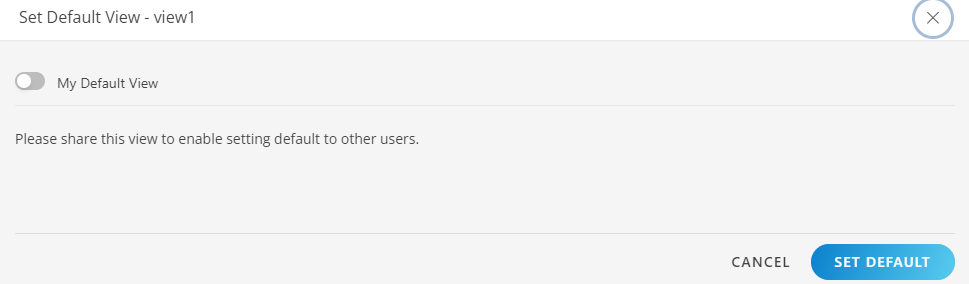
Turn on the My Default View option.
Click the SET DEFAULT button.
Refresh the browser. You can see that the view is set as default for the current user.
To set the default view for other users, share the view and make it default for the user you want to set as default.
Share
The Share option allows you to share a view with other users.
To share a view:
Hover over the view name on the slide-out.
Click the actions menu. The VIEW OPTIONS popup is displayed.
Click the Share option. The Share View dialog box is displayed.
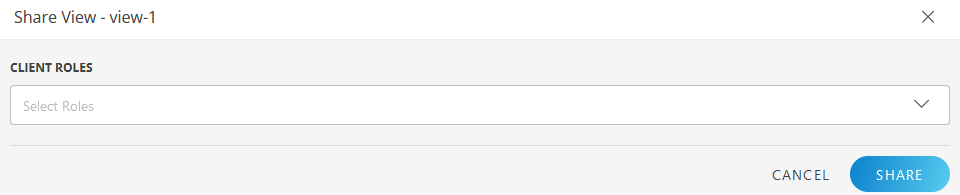
Select a role(s).
Click SHARE. The view is shared with the user(s) with the role.
Remove
The Remove option allows you to remove a view.
To remove a view:
- Hover over the view name on the slide-out.
- Click the actions menu. The VIEW OPTIONS popup is displayed.
- Click the Remove option. A confirmation dialog box is displayed.
- Click REMOVE. The view is removed.